ResoMax Tune-o-Matic Bridge Saddles Installation ManualUpdated 8 days ago
Presently these bridges will only be available in the TP6 and TPFP versions in Gold, Nickel, Chrome, and Black.
The PS-8541-#0 are loaded with 6 BN-8501-00 (TP6) Example
The PS-8641-#0 are loaded with 6 BN-8502-00 (TPFP) Example
(A small flat-head screwdriver will be required)
The diagram below displays the StringSaver loaded tune-o-matic bridge, note that three saddles face in one direction and three are reversed, this allows for better guitar string intonation.
It is important that the replacement saddles are positioned just as in the diagram below.
With screw heads facing you, the three saddles to your left slope away from you, and the three to your right slope towards you.
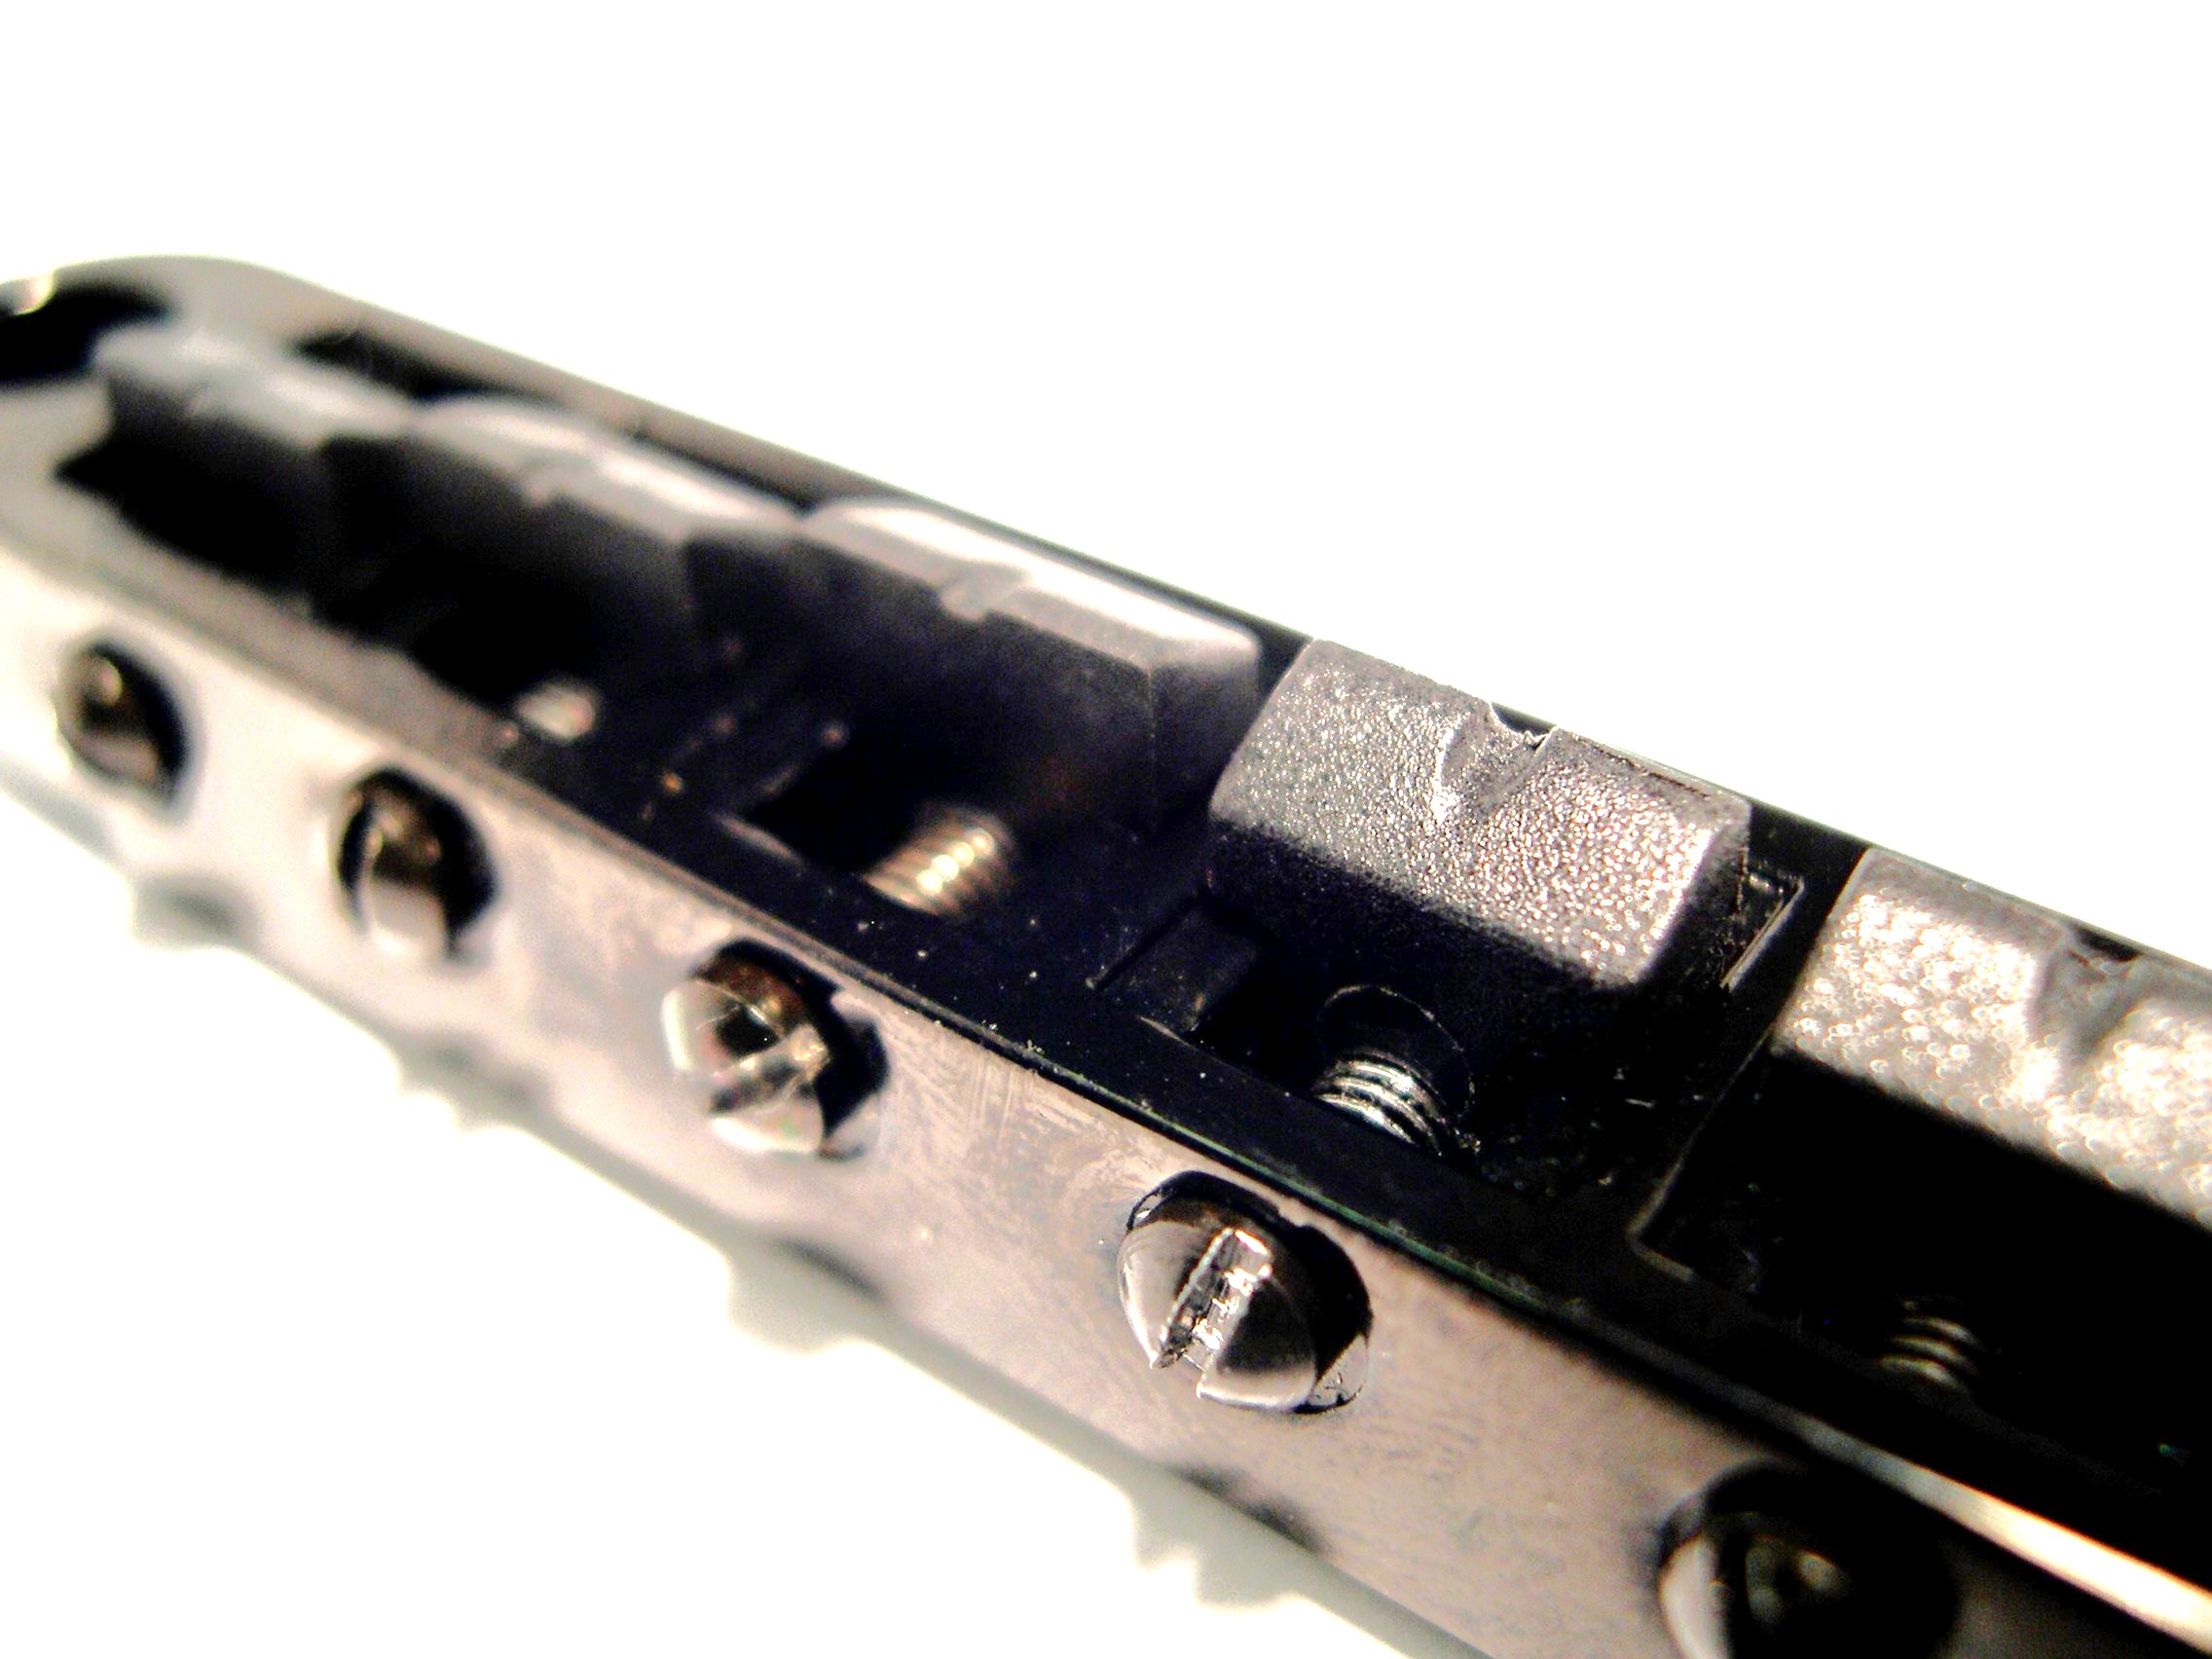
Step 1:
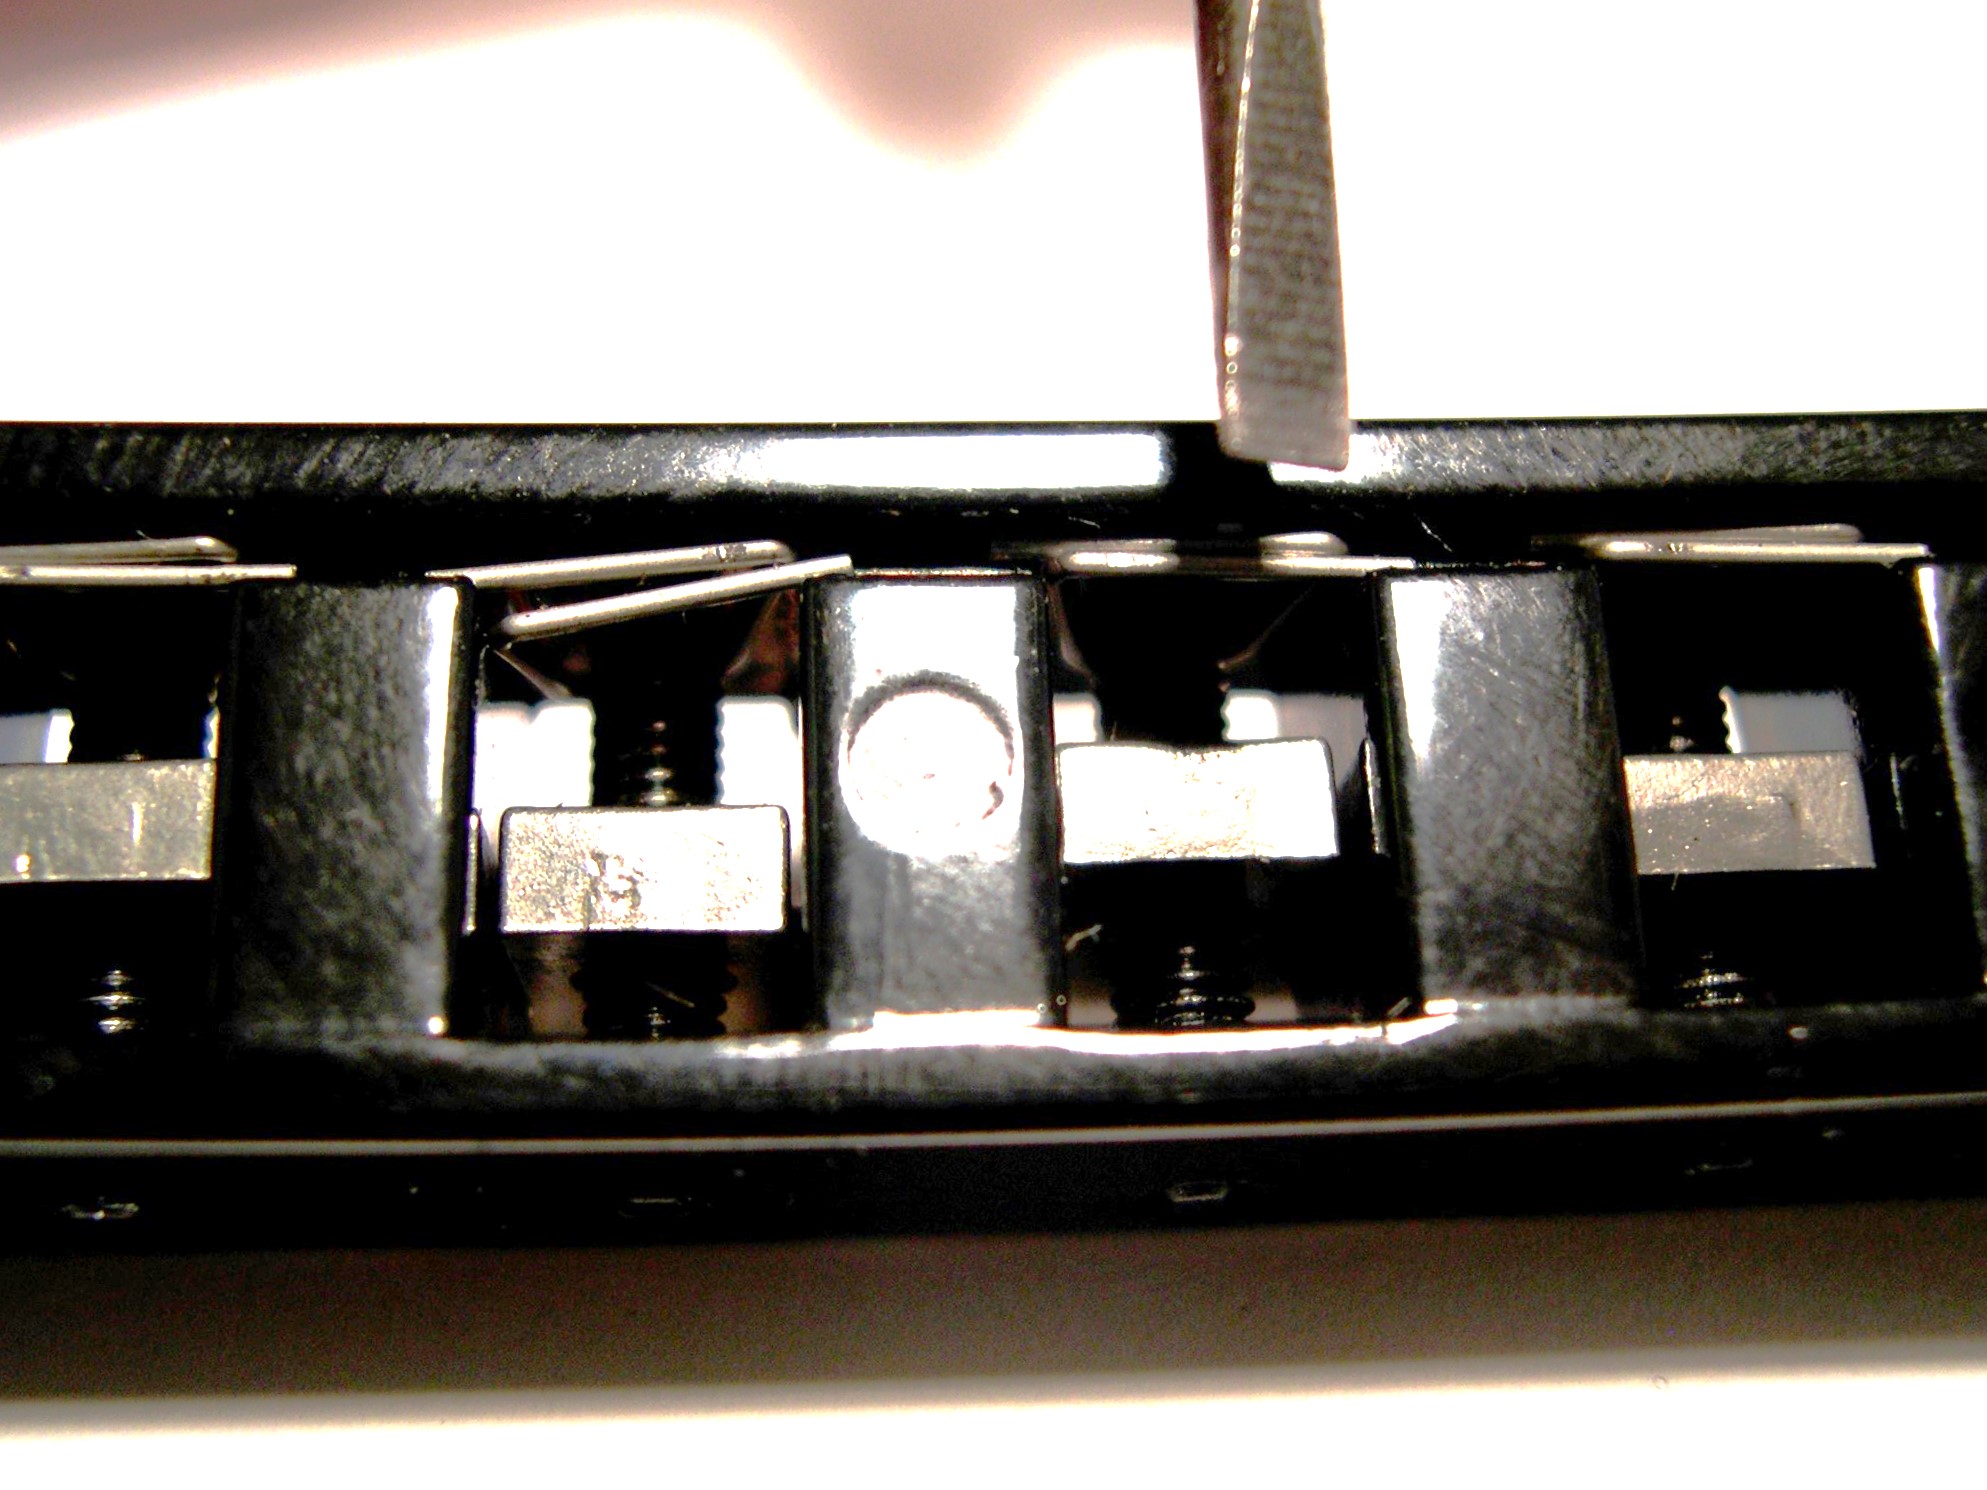
Loosen 3mm screws and unscrew until the screw is roughly removed halfway.
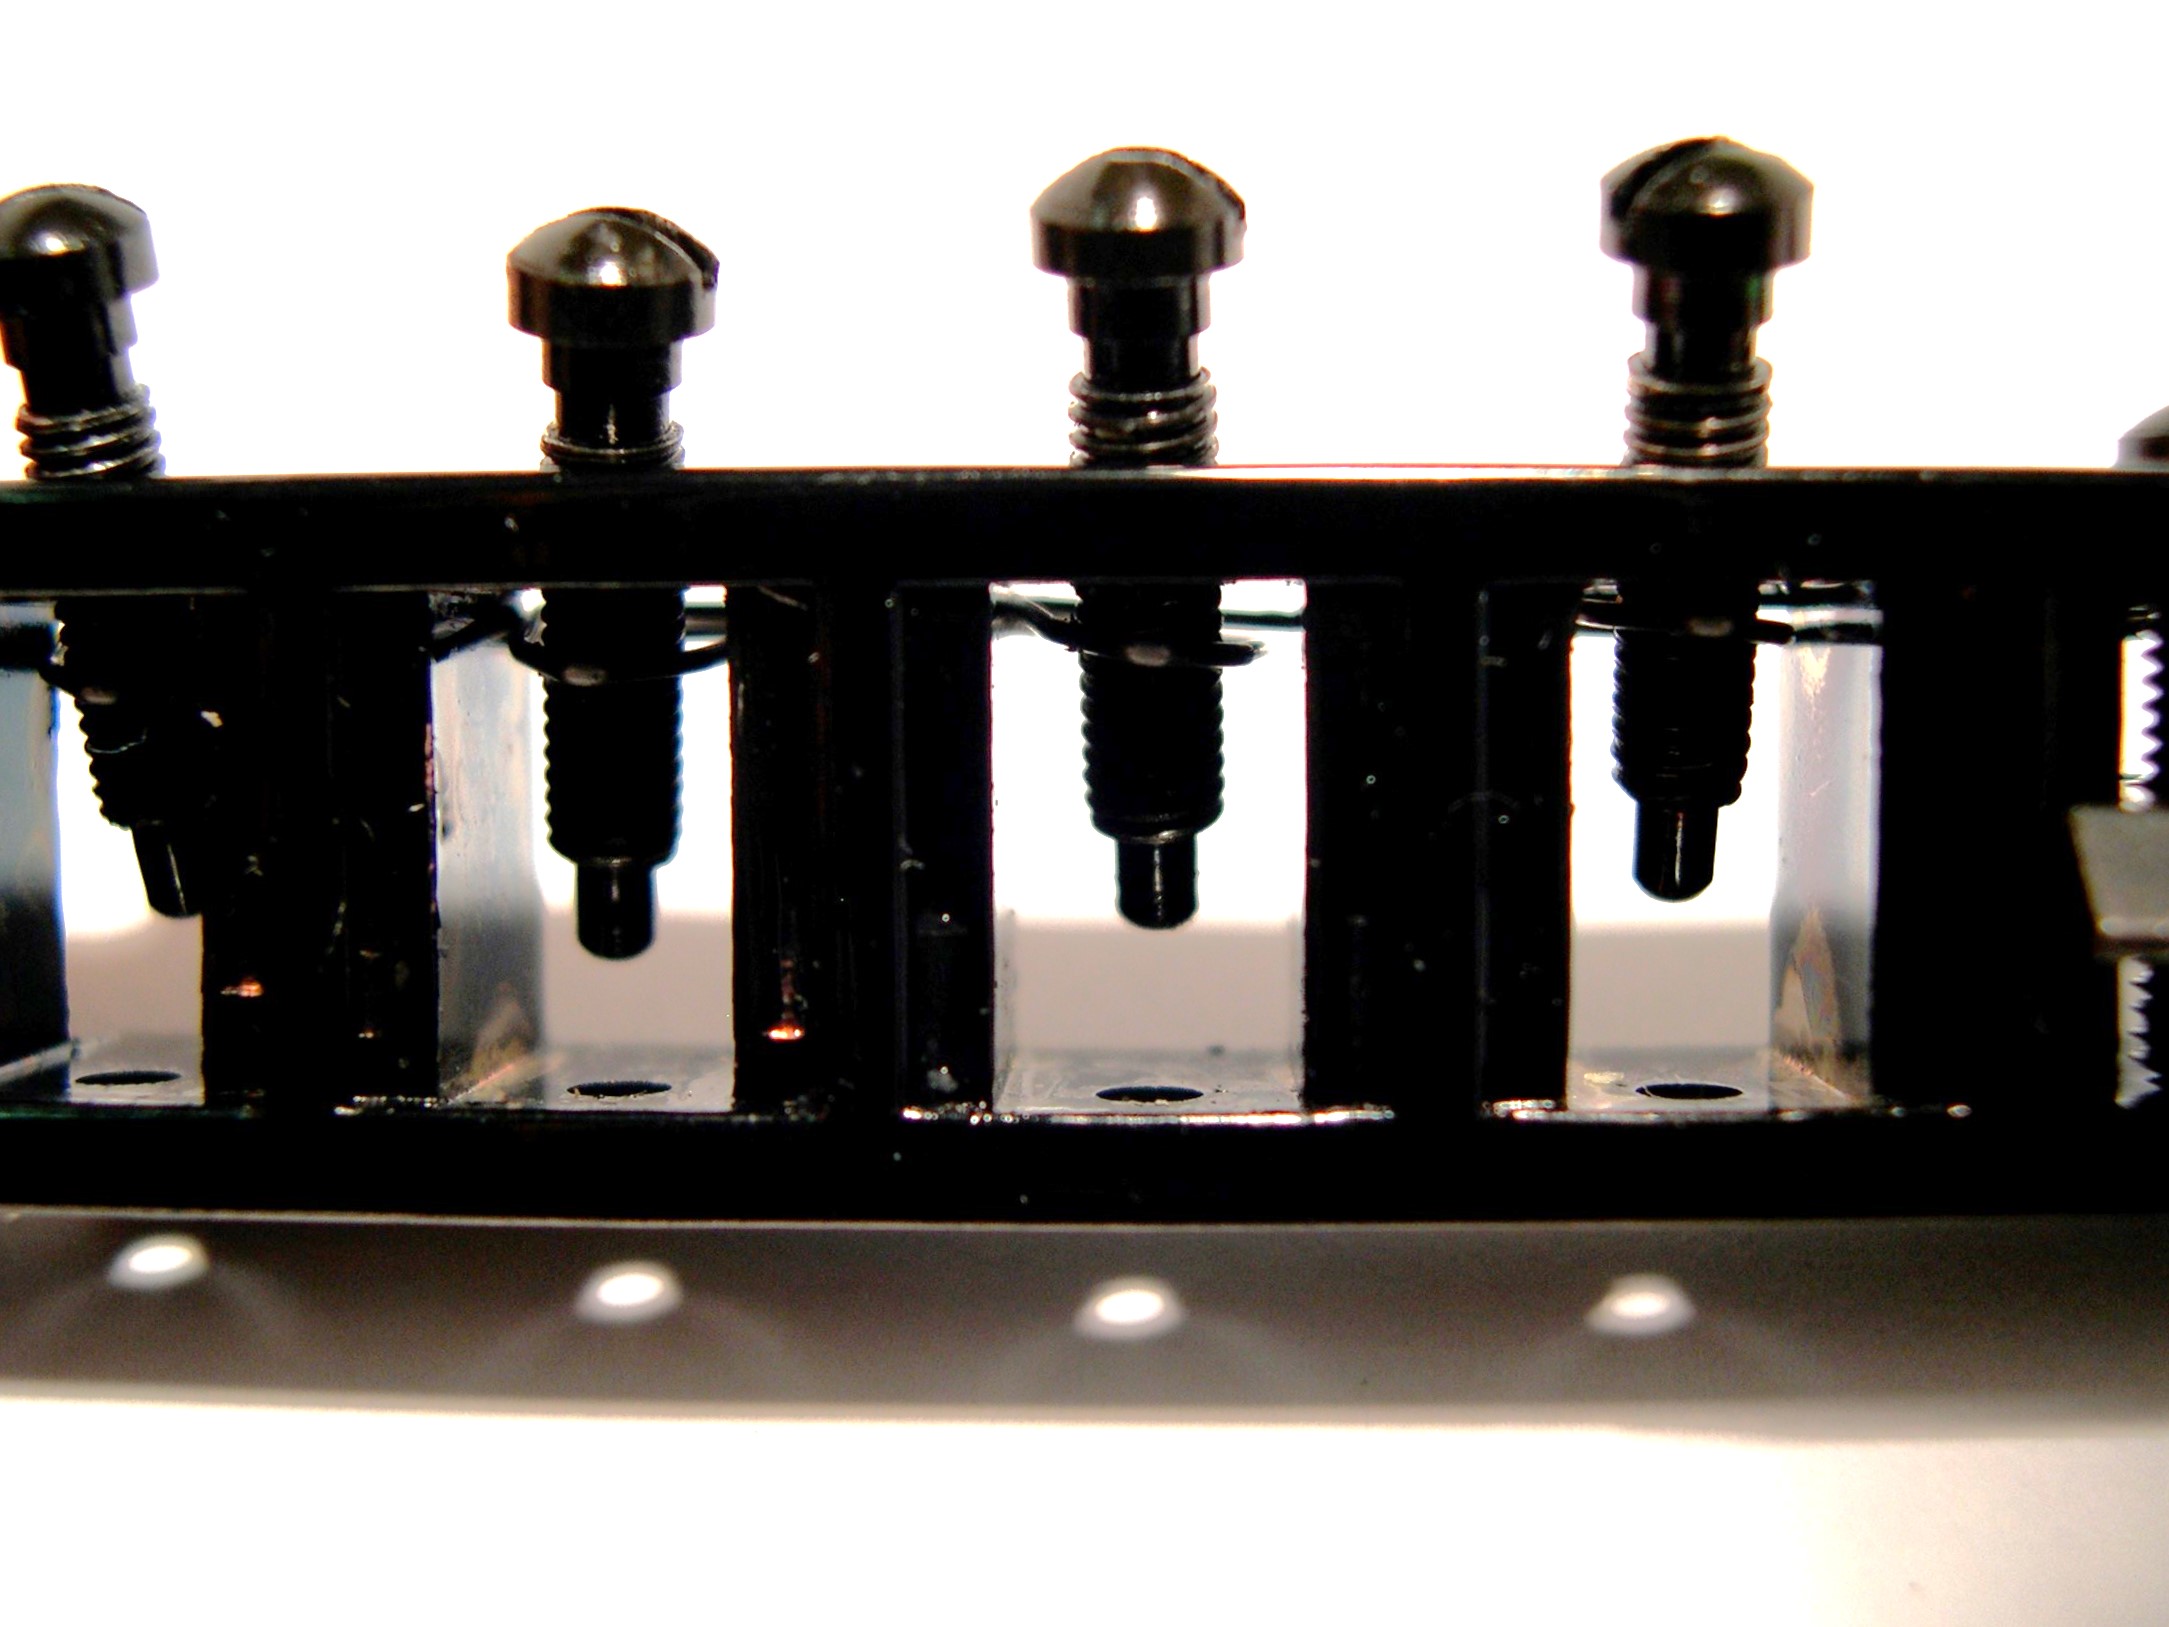
Make sure to keep in place the spring clip that retains the screw and intern holds the screw in place.
The diagram identifies the spring clip.
..jpg)
Step 2:
Remove the metal saddle and replace it with either the BS-8541-00 (PS-8541-# #) or BS-8502-00 (PS-8561-# #)
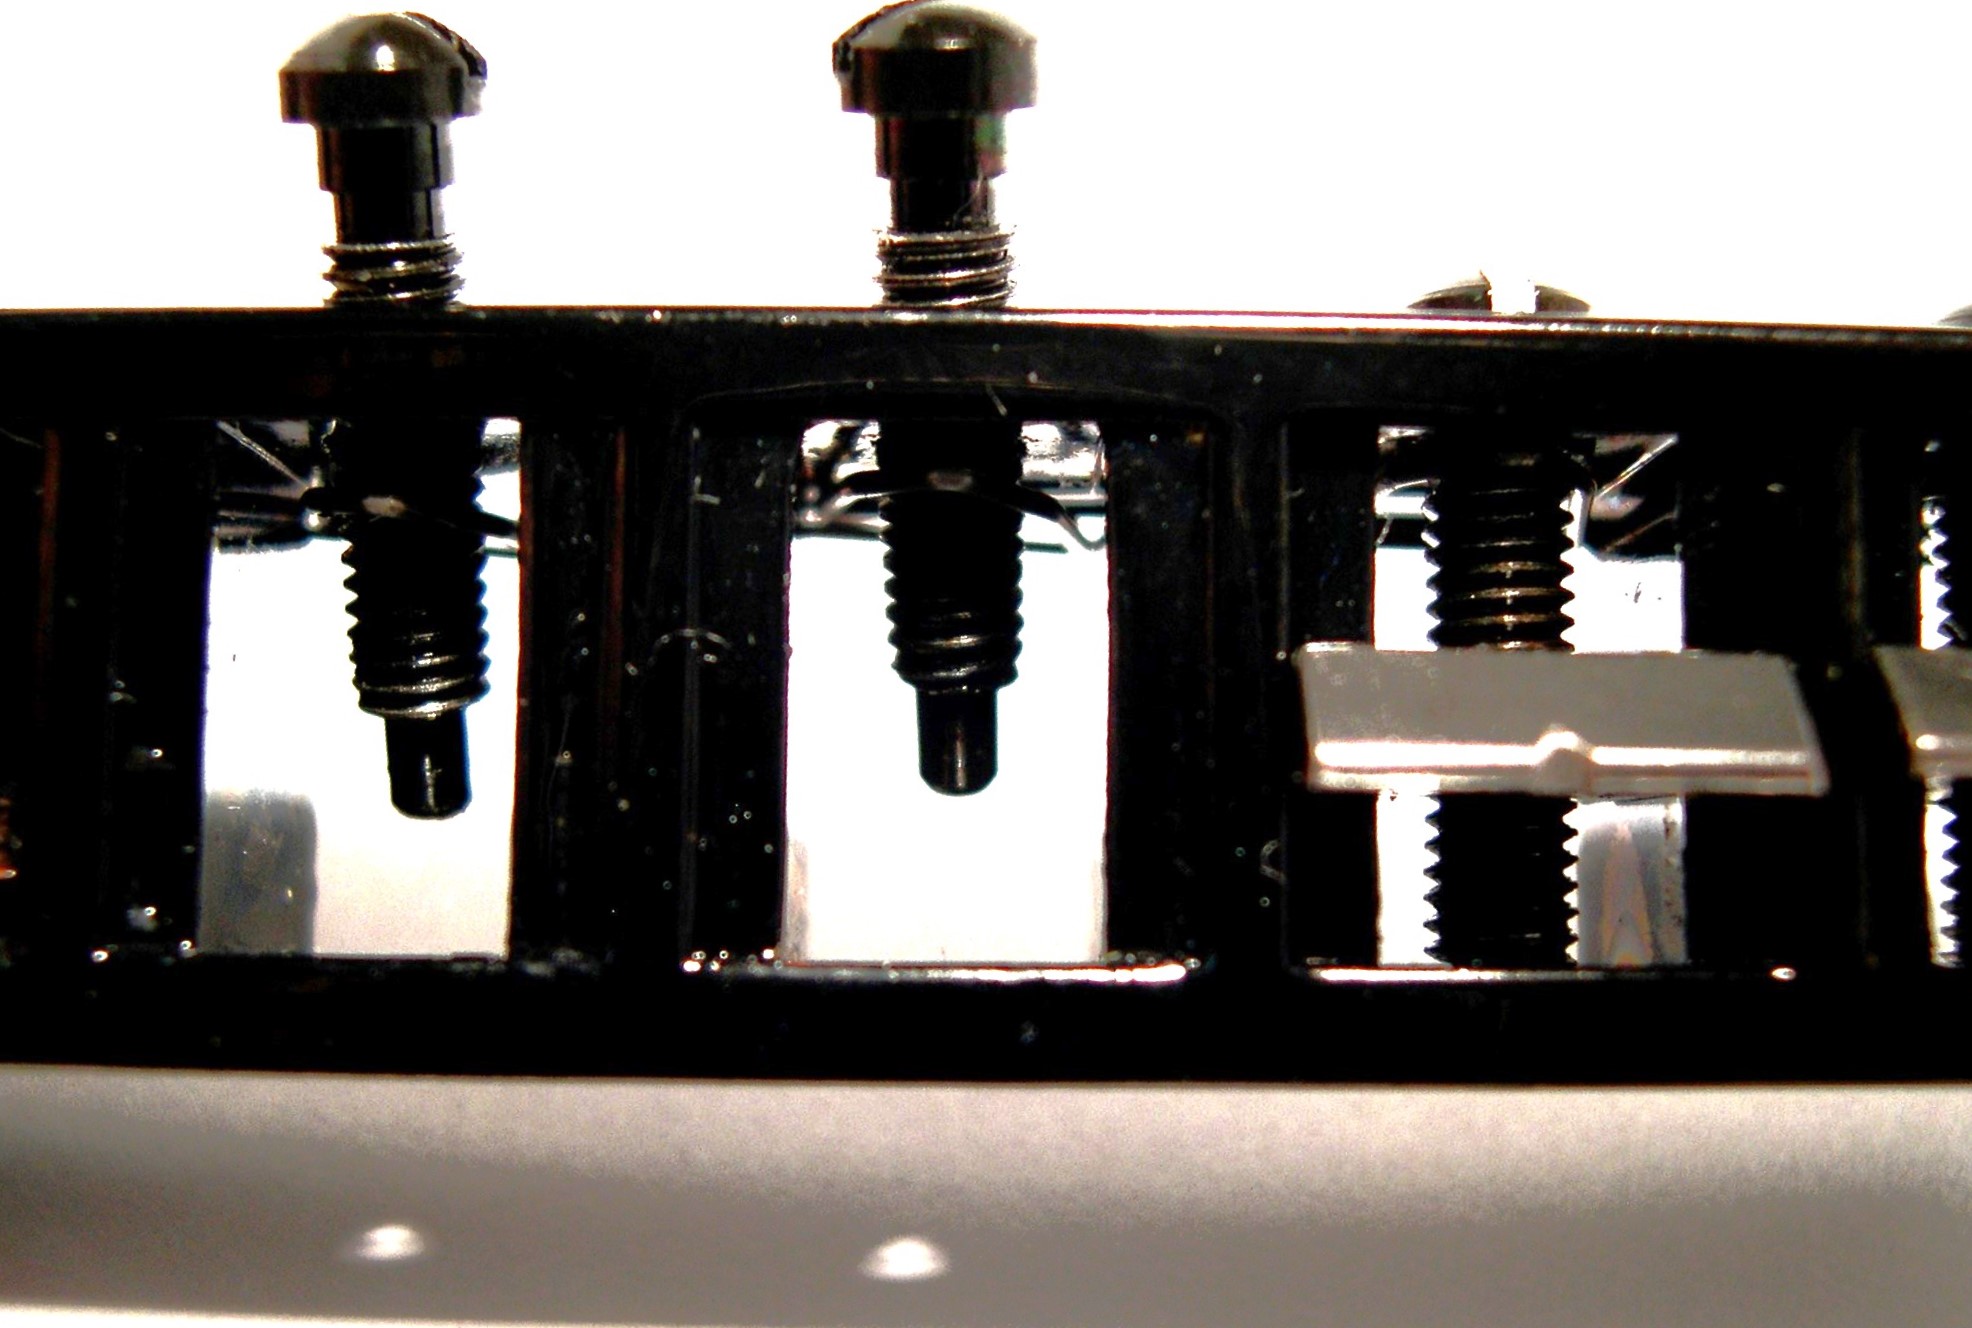
Step 3:
Hold the replacement StringSaver saddle into position and make sure that the retaining spring clip is secured into position, now insert the StringSaver replacement saddle and thread the screw through the saddle until the screw head is secured into the screw location hole, this small hole can be found on the opposite side of the bridge; this hole approximately 1mm in diameter.
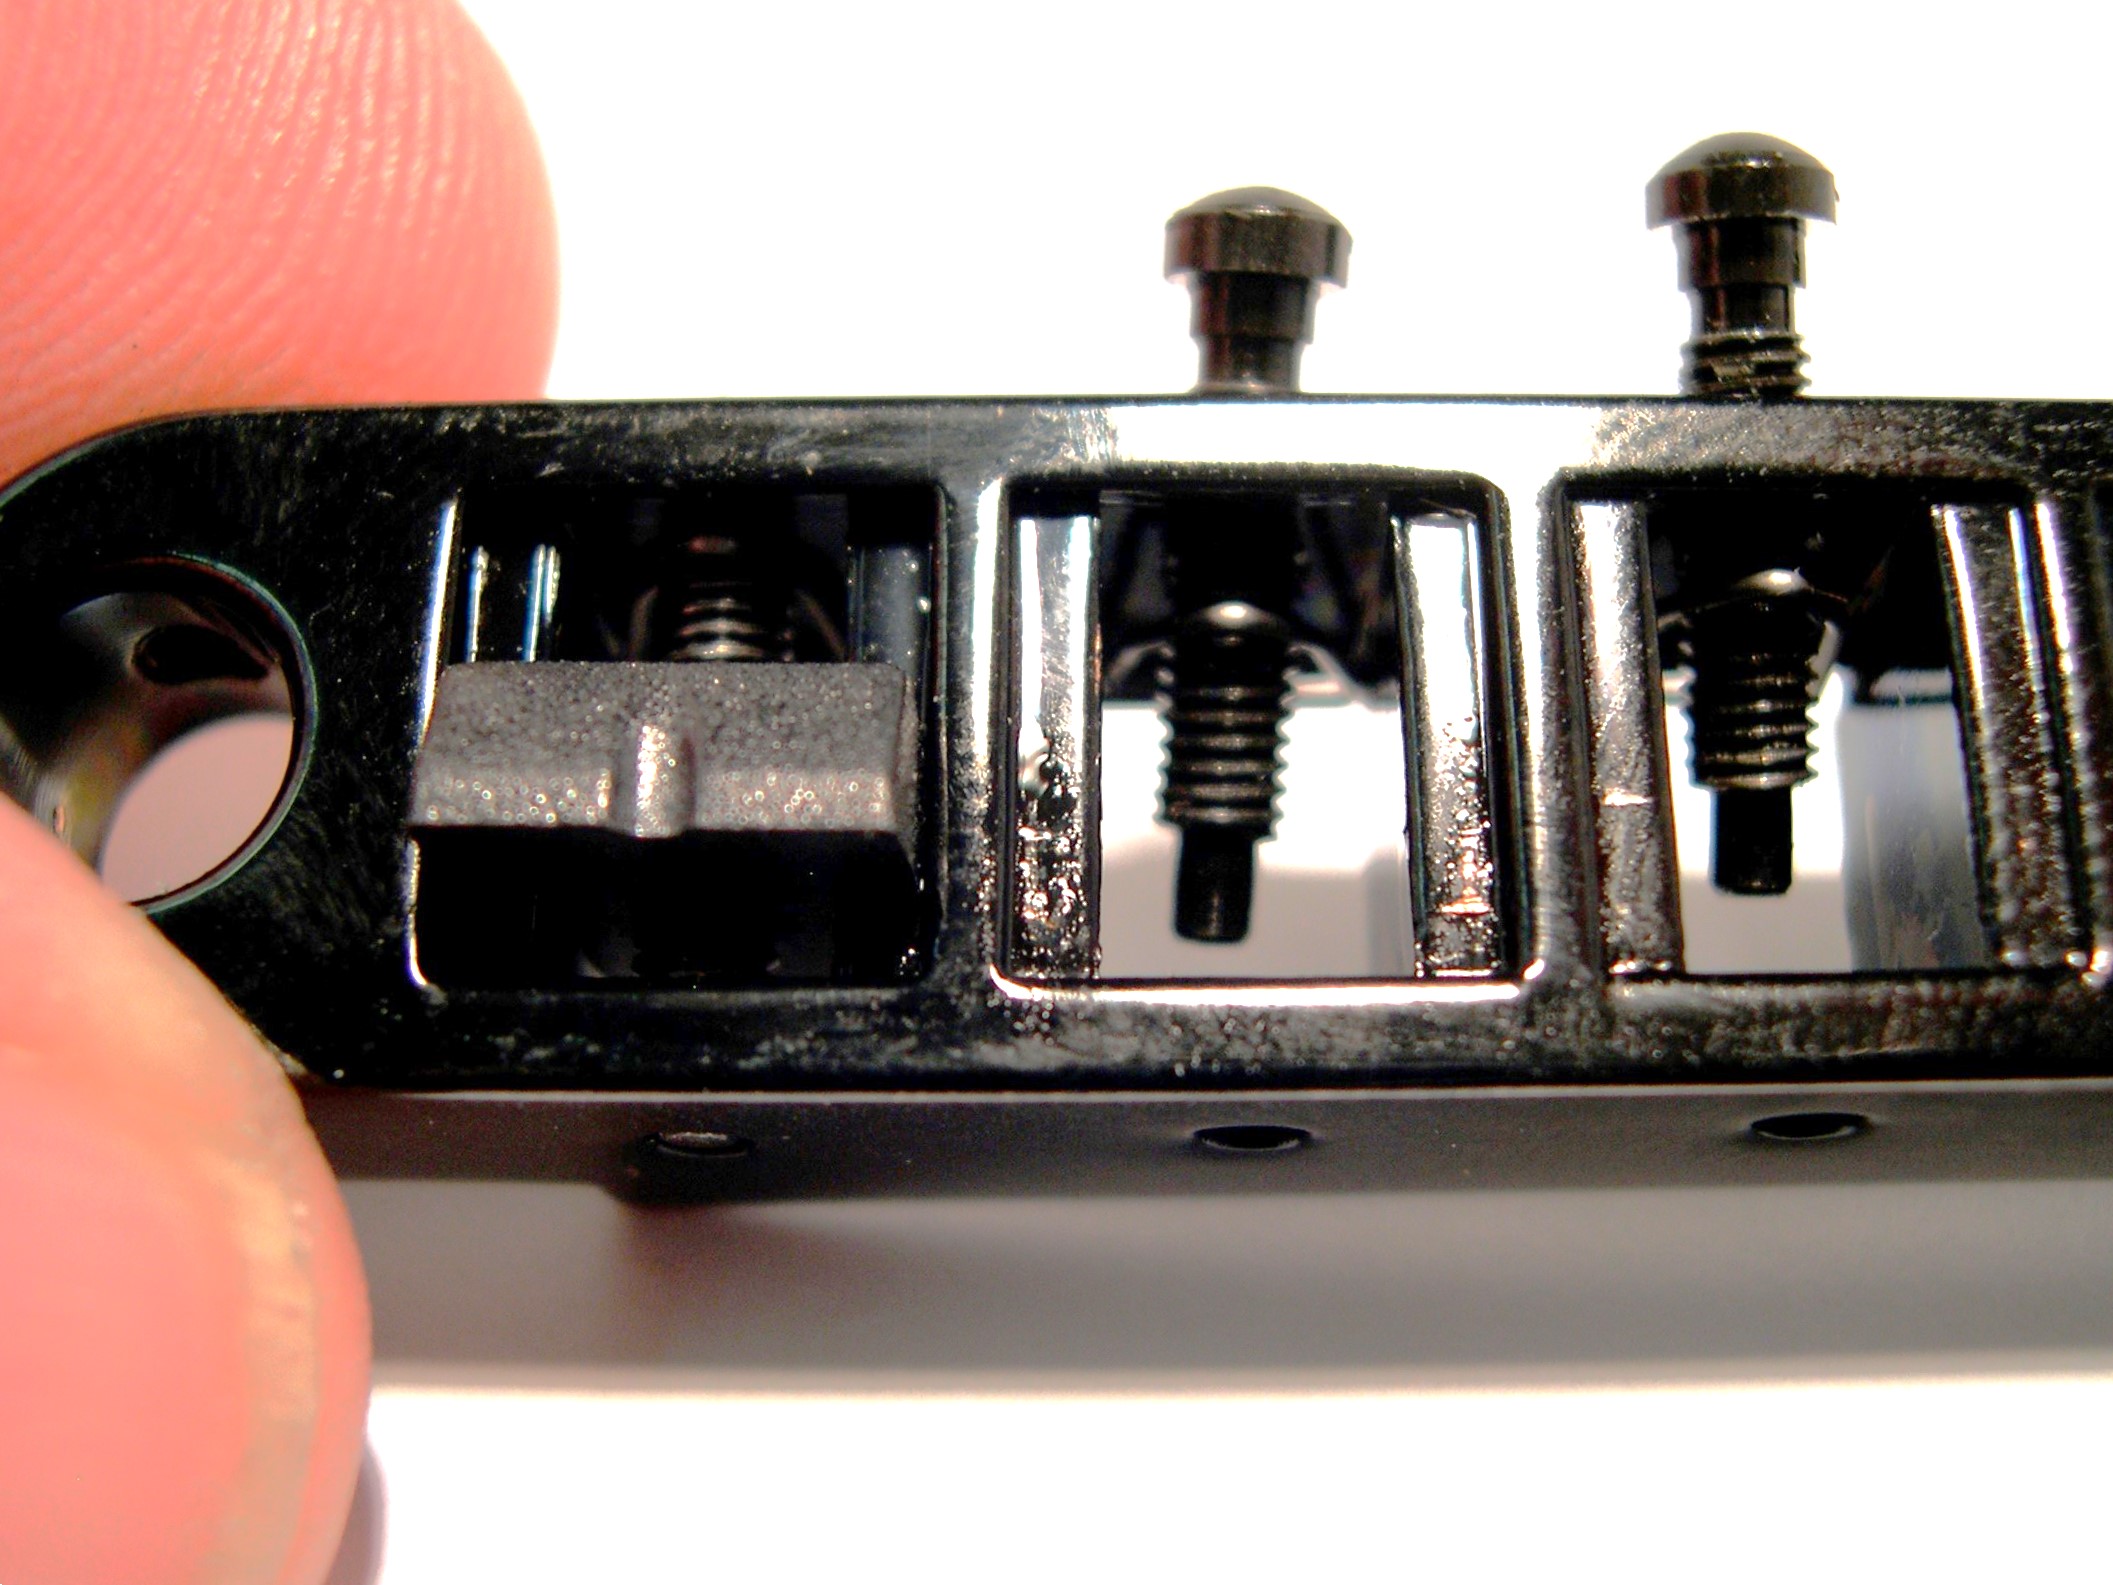
The diagram identifies the spring clip.
Step 4:
Once all saddles are replaced, insert posts and secure posts into position with the Allen key.
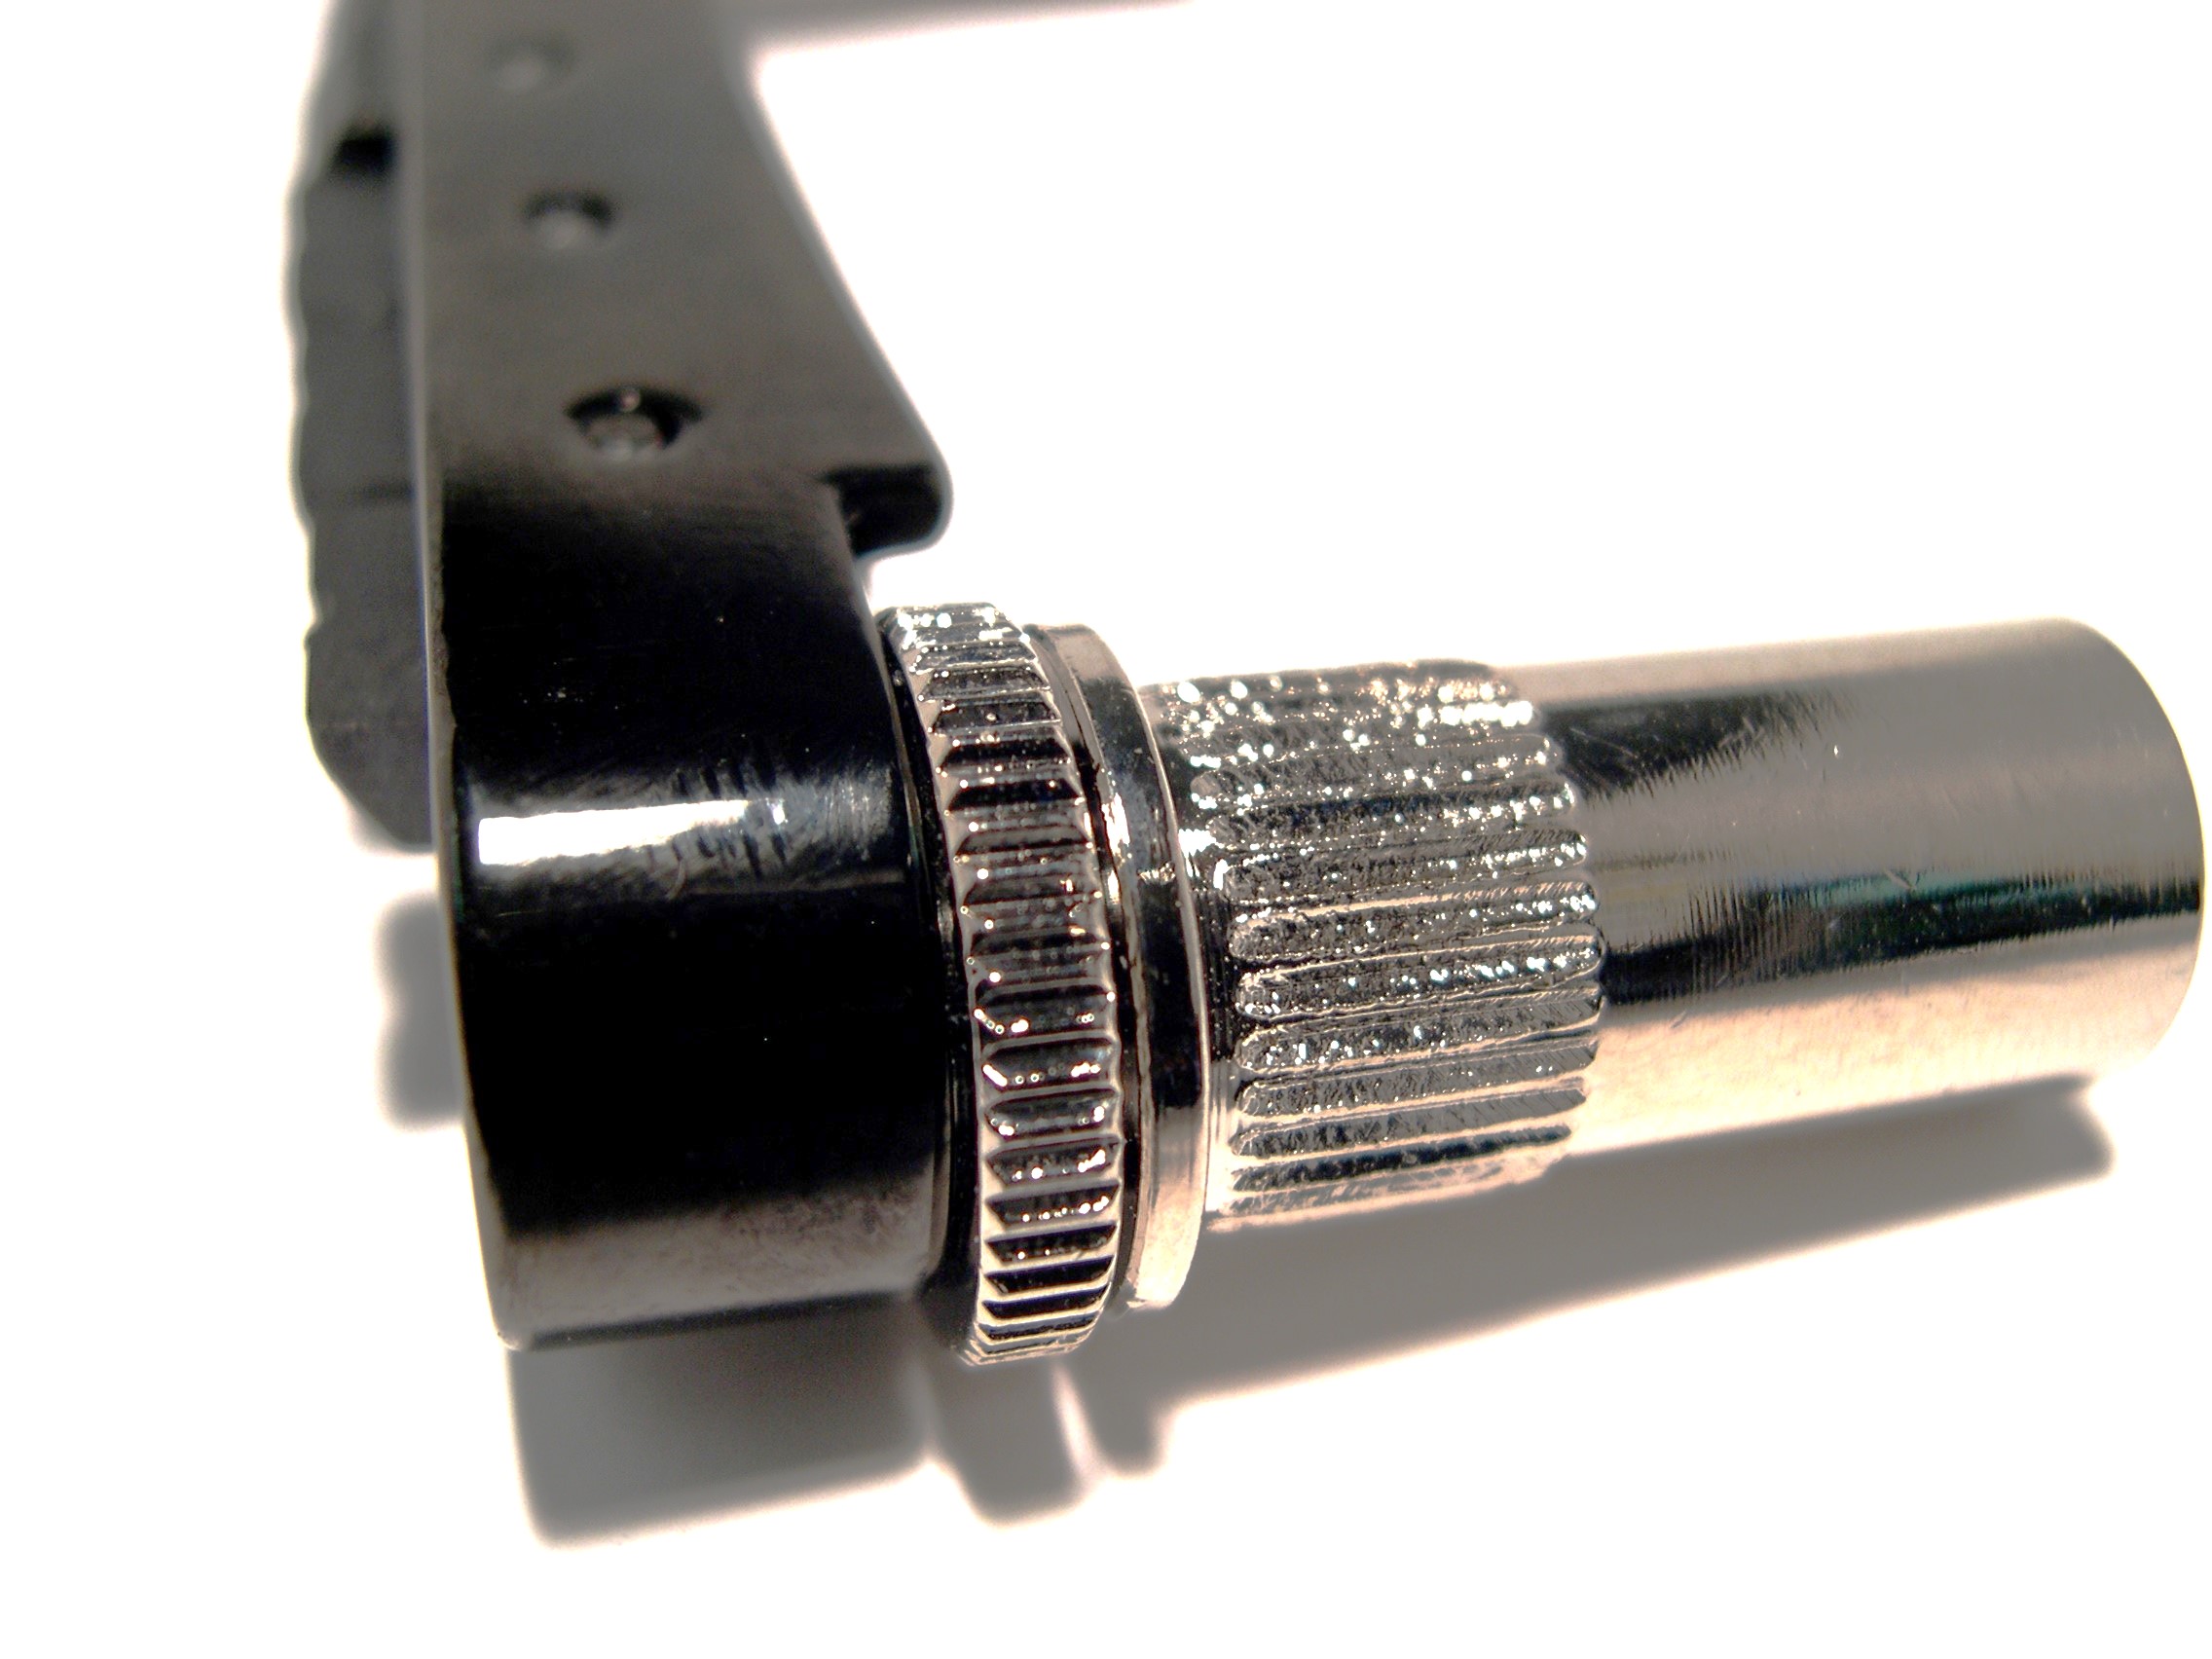
All ResoMax Tune-o-Matic bridges are to be shipped with two post inserts, two posts, and one 1.5 mm Allen Key or Hex wrench.
